Genesis 1:3-5 says: And God said, “Let there be light,” and there was light. And God saw that the light was good. And God separated the light from the darkness.
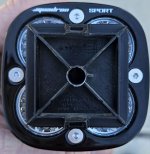
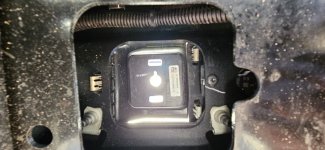
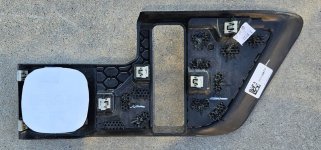
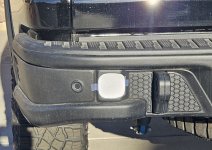
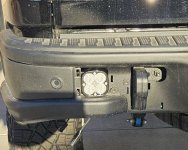
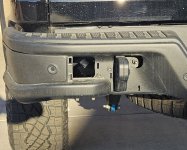
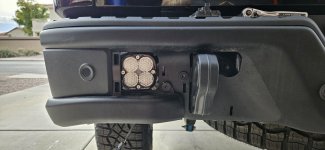
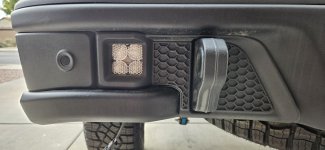
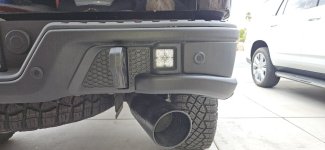
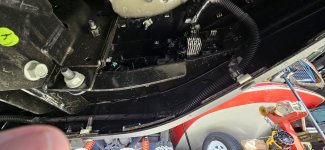
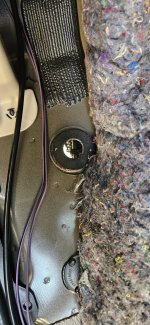
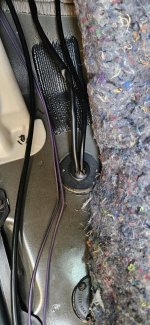
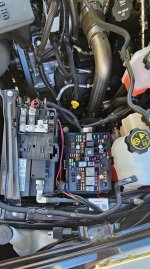
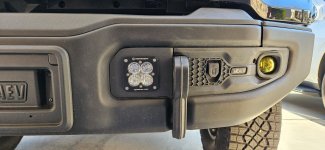
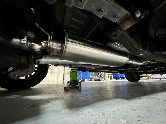
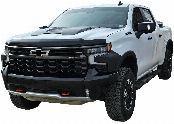
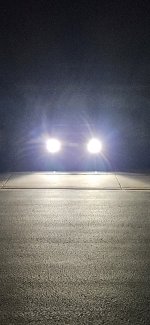
But sometimes you need a little more light in the darkness too. These Baja Designs Squadron work scene lights mounted in the rear Bison bumper will give you plenty of light.
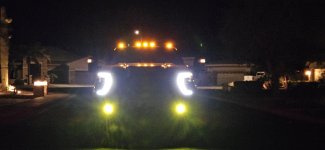
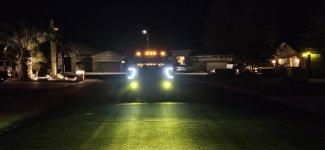
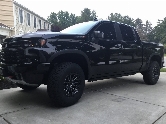
I was worried they might not put out as much and since some of the lense is blocked by the small cutout I thought it might be compromised. But these things are so damn bright, they light up the whole neighborhood.
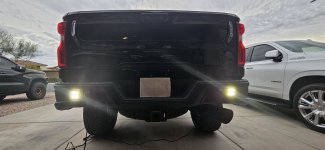
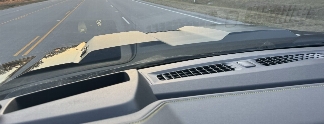
They might be a little too bright for my needs as they might produce a lot of reflection of my campers and trailers when hooking and unhooking in the dark. I might have to add some tint to tame them down a bit.
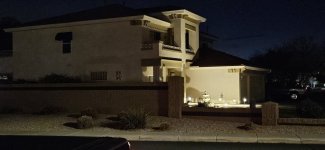
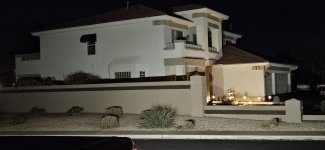
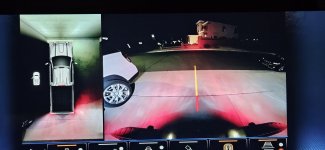
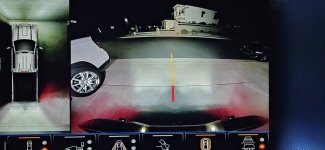
Here some pictures in front of my house near a streetlight. Looks like the sun rising on the house next door. You can see a huge difference in the backup camera. You'd blind people in a parking lot.
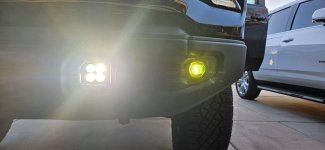
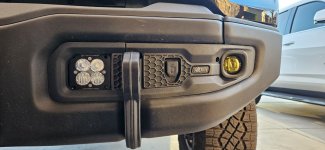
But sometimes you need a little more light in the darkness too. These Baja Designs Squadron work scene lights mounted in the rear Bison bumper will give you plenty of light.
I was worried they might not put out as much and since some of the lense is blocked by the small cutout I thought it might be compromised. But these things are so damn bright, they light up the whole neighborhood.
They might be a little too bright for my needs as they might produce a lot of reflection of my campers and trailers when hooking and unhooking in the dark. I might have to add some tint to tame them down a bit.
Here some pictures in front of my house near a streetlight. Looks like the sun rising on the house next door. You can see a huge difference in the backup camera. You'd blind people in a parking lot.
Attachments
Last edited: