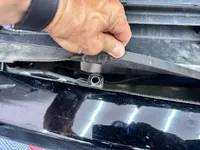
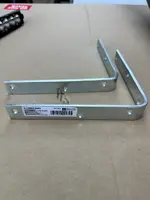
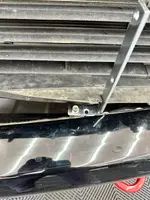
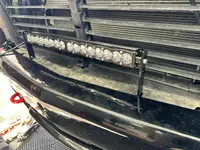
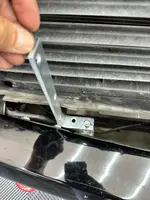
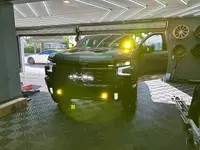
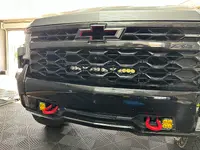
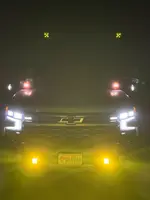
Unfortunately I didn't take any pics during the process, very selfish of me lol. I can say that we've learned our lesson when it comes to the front bumper and such. Just pull it, way less time consuming than monkeying around trying to ET your fingers in for clip removal. Have done it twice, once to replace the corner metal end cap (dented hitting a metal chair on the frwy) and then once to install those lights. You can't get the angle right to drill a hole for the mounting bolt. (You can tighten it once in). BEFORE you pull bumper and drop skid plate to drill, hold the squadron in place next to the recovery hook, you can see behind where you need to trim out. Use a sharpie and draw outline behind to remove the metal and plastic so the light sets in. It's not much but keep putting the light in place and see how it sets back. I remember you can only cut so much because of a brace in the area. It's enough to set the light back, mark the hole for the mount and then remove it all. Lastly, tighten the OUTER two hex bolts to secure the light to the bracket, then lightly tighten the two inner bolts. You can tighten those after install and assure your level on aiming, but you can't reach the outer bolts anymore once you mount the bracket. I used the wide cornering lens which worked great to cover the entire front area. They will angle slightly outward which is fine, goes in to the ditch area while off-roading. I use the sPod app to dim them so I can get away with using on road. Sorry for the long explanation but its tough to detail how it went. If you want to chat about it, pm me and we can talk over the phone. Maybe it'll help and I can send some pics when talking to further explain. Good luck, it's worth the work!